Wednesday, November 9, 2011

Peter Peter, pumpkin eater

It's that time of year again.....
...when everything food-related suddenly has pumpkin in it.

Pumpkin lattes, pumpkin milkshakes, pumpkin pie, roasted pumpkin seeds, pumpkin soup.

All of this is hard for someone who is not *in love* with pumpkin.

(That would be me.)

Don't get me wrong--there are a few pumpkin-y items that I really like. I just don't want it forced into every recipe I own.
I am a "selective pumpkin eater".

I HAVE always been in love with this pumpkin delicacy though......

{pumpkin roll}

I think my desire for it is based mainly on the cream cheese filling but still....it's a pumpkin thing and I like it.
And I had never made one until a few weeks ago!

I know...crazy, right? I always drooled over it and dreamed of it, but was way. too. lazy to make one myself. But I figured that is no way to live.

So I searched my FAVE site and found a recipe for one here.

And I made it.

And it was awesome.

This is how I enjoyed it....with a cup of coffee OF COURSE.....amidst the toys and chaos.
It was still heavenly.


Thankfully, I am not called to live inside a pumpkin like poor Peter's wife. Those things smell horrible.....but they do make a good treat....when slathered with cream cheese frosting. ;-)

Sunday, October 30, 2011

A little bitta Italy in my house

*Editor's Note: This post was written months ago and never published. I apologize to those readers who have been camped out by their computers, waiting for it. Life probably got a little tough.....)*

Some of my FB friends asked me to share this recipe for pasta fagioli soup....
so they too can have houses that smell like Olive Garden. ;-)

My whole family liked the recipe, which means we will be eating it again. There was one thing I didn't like about it--if you leave it sitting on the stove for too long, the pasta gets mushy. So be sure to serve the soup as soon as it is done cooking.....

{Pasta Fagioli}

2 T. olive oil
1 onion, diced

3 cloves garlic, chopped
1 can (14.5 oz) diced tomatoes with basil, garlic and oregano
2 cans (14.5 oz each) reduced-sodium chicken broth

8 oz (about 2 cups) small pasta shells

1 t. Italian seasoning

1 bunch fresh kale, tough stems discarded, cut into 1-inch pieces and washed
2 cans small white beans, drained and rinsed

1 T. tomato paste

1/2 t. salt

1/4 t. pepper
grated parmesan, for serving

1) Heat oil in a large pot over medium heat. Add onion and cook 5 minutes. Add garlic; cook 1 minute.
2) Stir in tomatoes, broth and 3 cups water. Bring to a simmer over high heat. Add pasta and Italian seasoning. Cook, stirring, 5 minutes.
3) Stir in kale; cook 5 minutes more. Reduce heat to medium and stir in beans, tomato paste, salt and pepper. Heat through.
4) Ladle into bowls; garnish with Parmesan.

(Recipe from Family Circle--Feb 2011)

Saturday, October 29, 2011

A cup a day keeps the doctor away....

Forget the apples! I know something better for curing a cold.....

When I was a kid, my mom had a friend named Hazel. She was actually our pastor's wife and she was one of the most unusual people I had ever met. At one point, I had a very bad cold/sore throat and she recommended a concoction to my mom.

I HATED it the first time I tried it. It was strong-tasting and hot....that is all I remember. But it worked! After a few cups of the stuff, my sore throat was gone and my cold had disappeared.

After that, I was sold. To this day, when I feel a cold coming on, I mix up a cup or two of this stuff and drink it until the symptoms go away.


{Hazel's Cold-curing Brew}

1 bag herbal tea (fruit-flavors usually taste best) 3 T. honey 1 T. apple cider vinegar

1) Brew tea bag as directed. Add honey--stir until dissolved. Add vinegar. 2) Drink as hot as you can stand it. Repeat as needed.

Stay healthy, my friends..... ;-)

Friday, October 28, 2011

Hootie and Semisonic left out some valid points

Those of you who are reading this and know anything about me would probably agree with two things:

1) I ADORE bread and
2) I am NOT a patient person.

The combination of those two characteristics rules out most bread recipes for me.

As I was readying myself to make some bread last night, a quick glance at the recipe deterred me. I was looking at a 3 hour process! No bueno for me.....I like my bread to be QUICK! We are all busy people, correct? Time is money, time is of the essence, blah, blah, blah....

So....being the impatient bread-lover that I am, I just altered the recipe. And guess what?! It turned out awesomely! (Yes, I am fully aware that that is not a real word. Thank you, dictionary police....)

The original recipe was out of Country Living magazine (one of my all-time faves) and was a perfectly good recipe. But I needed it to be easier. So, I will share the edited version with you and hope that you enjoy the "quickness" of it as much as I did.


{Mini Country Loaves}

1 pkg. dry active yeast
2 T. sugar
3 cups all-purpose flour, plus more for kneading
2/3 cup warm (110 F) milk
*I just heated milk in the microwave for 30 seconds*
1/2 cup old-fashioned oats, ground into a fine flour *I used my blender*
1 1/2 t. fine sea salt
2 T. olive oil
1/2 cup warm water

1) In a bowl, combine yeast, sugar, flour and milk. Add ground oats, sea salt and olive oil. Stir in water slowly until dough forms.

2) Remove dough and knead on lightly floured surface until supple, about 4 minutes. Place in well-oiled bowl, turning dough to coat with oil. Cover bowl with a towel; let dough rise until doubled in volume, about 1 hour.

3) Heat oven to 400. Punch down dough and knead for 1 minute. Divide into 4 equal portions; shape into loaves to fit into small loaf pans. Place in pans--cover with towel for 20 minutes.

4) Bake for 20 minutes. Remove from oven, brush tops with butter and sprinkle with additional oatmeal if desired. Bake for 5 more minutes. Cool completely (or gobble it down as soon as you can do it without scalding the roof of your mouth.....whichever.)

Note: I cut out the eggs in the recipe....not because I am on an egg-free campaign. I was out of eggs. Also, I cut down the prep time by an hour because I mixed everything together at once, rather than following the tediously time-consuming steps that the original called for. You may all thank me later..... (This was all said in a Dwight Schrute tone of voice.)


Thursday, October 6, 2011

An artist needs inspiration

These days, there are many resources available to home cooks, thanks to the world wide web. I love stumbling onto great cooking blogs or seeing pictures of someone's creative meal.
It is so easy and accessible!

But it is often OVERWHELMING.....


Don't get me wrong....I will always use the internet to look up recipes and find inspiration for meals.
But I am an old-fashioned girl at heart.
I like recipes in my hands, written down on paper.

My favorite "medium" for recipes actually comes in the form of magazines.
I subscribe to Everyday with Rachael Ray, Simple and Delicious and Food Network's magazine.
My mother-in-law often sends me her Cooking Light mags also, and she just introduced me to Cuisine at Home (which I am planning to subscribe to as soon as I have the money!).

Those are my "go-to" magazines.....which ones do you use for cooking inspiration?

Friday, August 19, 2011

There's a chef among us.....

My poor little food blog, how I have neglected you! I have been cooking and experimenting up a storm in the kitchen, but have not taken the time to share any of it. :-(

This summer, we have had the privilege of having a house guest. Normally, that would not be a privilege, considering this one has stayed for 3 months and my husband and I have lost our bedroom to him.
But all is forgiven....

Because he is a CULINARY SCHOOL GRADUATE.

Yes, that is exactly what I am implying.....he has cooked spectacular food for us all summer! And in the process, I have learned a thing or two about cooking. He has helped us branch out of our bland little food rut. I have been using items like fish sauce and scallops and sushi rice and other such exotic items that had never graced my table in the past.
(Yes, we were boring eaters. It is now out in the open for all to know......)

Here is what he whipped up for us last week......


Anyways....my point of this whole post is that I have discovered several things through having a "chef" live with us.
1) Cooking awesome food is NOT as hard as I once imagined.
2) Cooking awesome food CAN be expensive though.
3) Cooking awesome food is cheaper than eating out and can impress your husband and friends.

I will definitely be trying more adventurous menu items from here on out. It CAN work on a limited budget--you just have to plan ahead and watch for sales!

(Watch out, Food Network! Sarah's in the house!)

Thursday, March 17, 2011

Easy as pie (pun intended ;-)

Several of you have requested that I share my pie-making technique. I finally took pictures of the process, so I can do that now. :-)

I grew up watching my mom make pies, and after I married my husband, I watched my mother-in-law make them too. But I really had no pie-making skills.

There were several reasons for that....

1) I am lazy. Plain and simple.
2) I was scared of messing up.
3) I am lazy. (Oh wait, did I already mention that?)

That about covers it though....I was lazy and scared. Once I buckled down and tried it a few times, I realized how simple it really was.
(And how rewarding! Nothin' better than a homemade pie....)

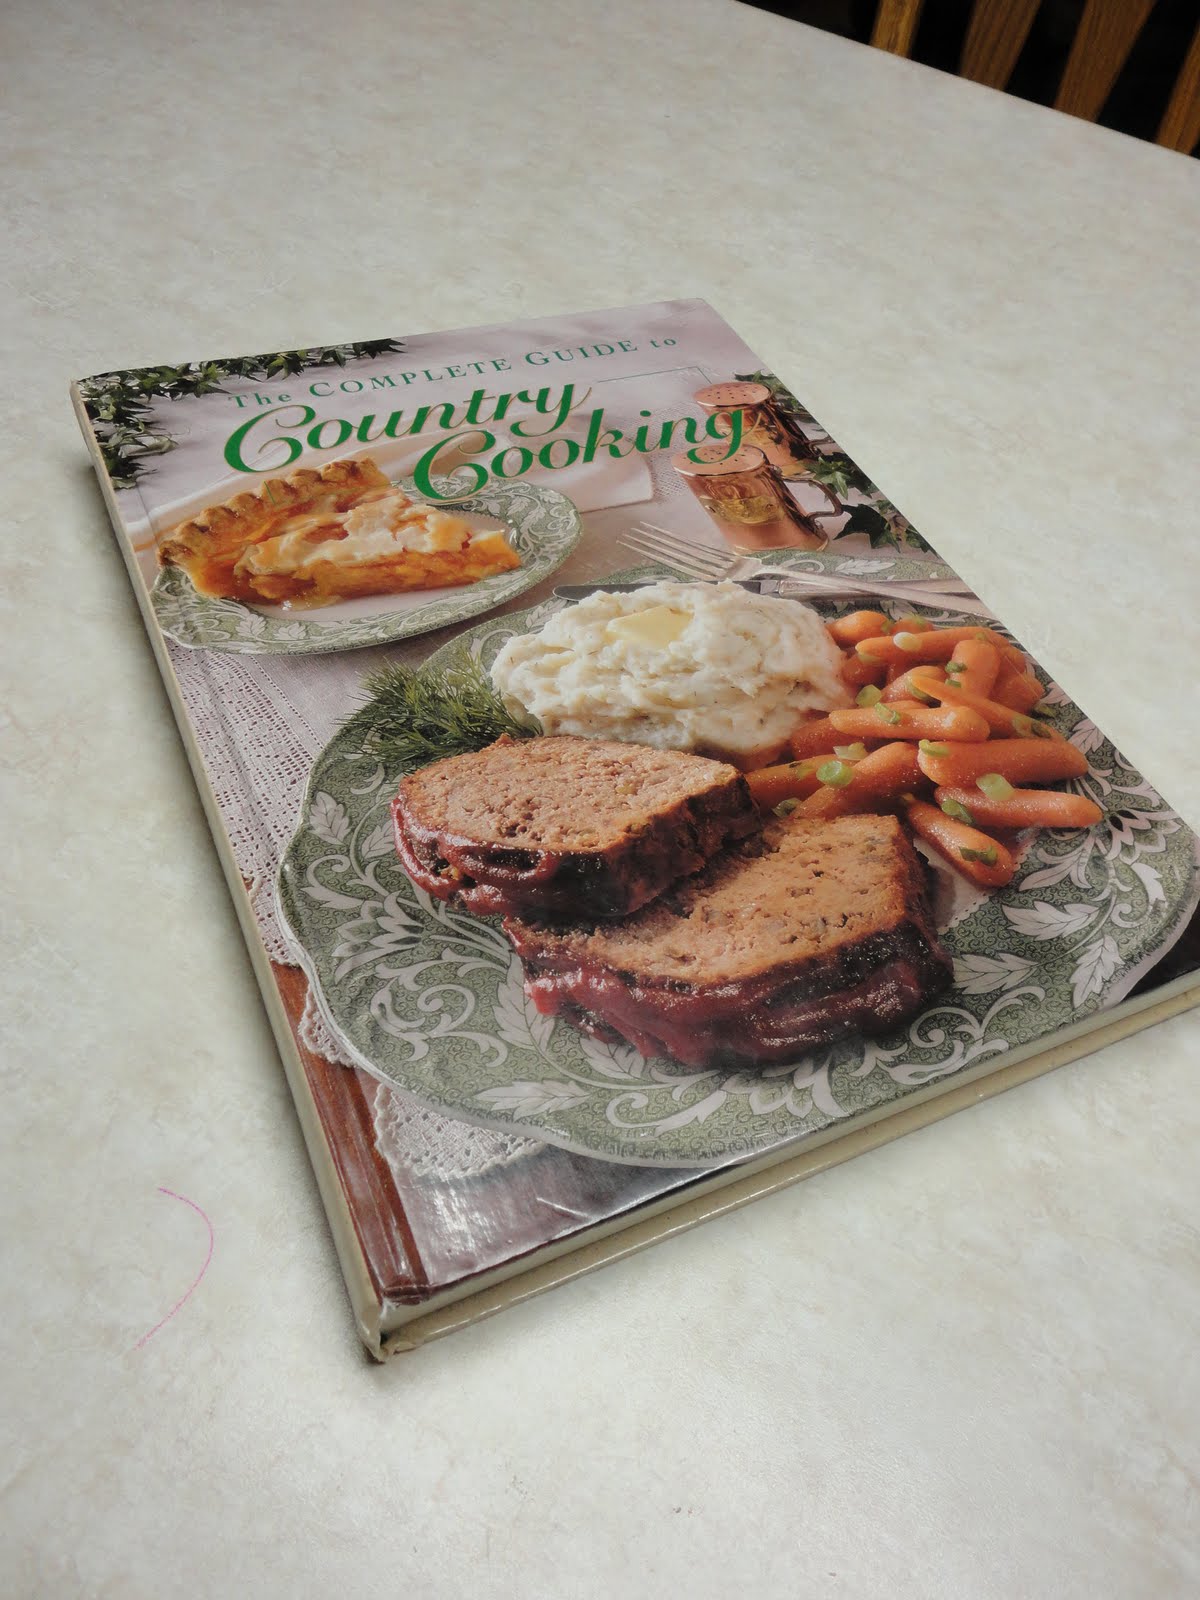
The recipe I use comes from one of my favorite recipe sources--Taste of Home. While the Taste of Home recipes are not fancy, they are easy and satisfying. They are my "go-to" recipes for basic foods. And pie crust is one of those.....

I DID have to practice several (even many) times to get the crust perfect. Now that I have the proper techniques memorized and understand the correct texture of the dough, I never have an issue. Make sure you don't give up after the first--or even second--time you try it!

Here is the recipe....

Pastry for Double-Crust

2 cups all-purpose flour
3/4 t. salt
2/3 cup shortening
6 to 7 T. cold water

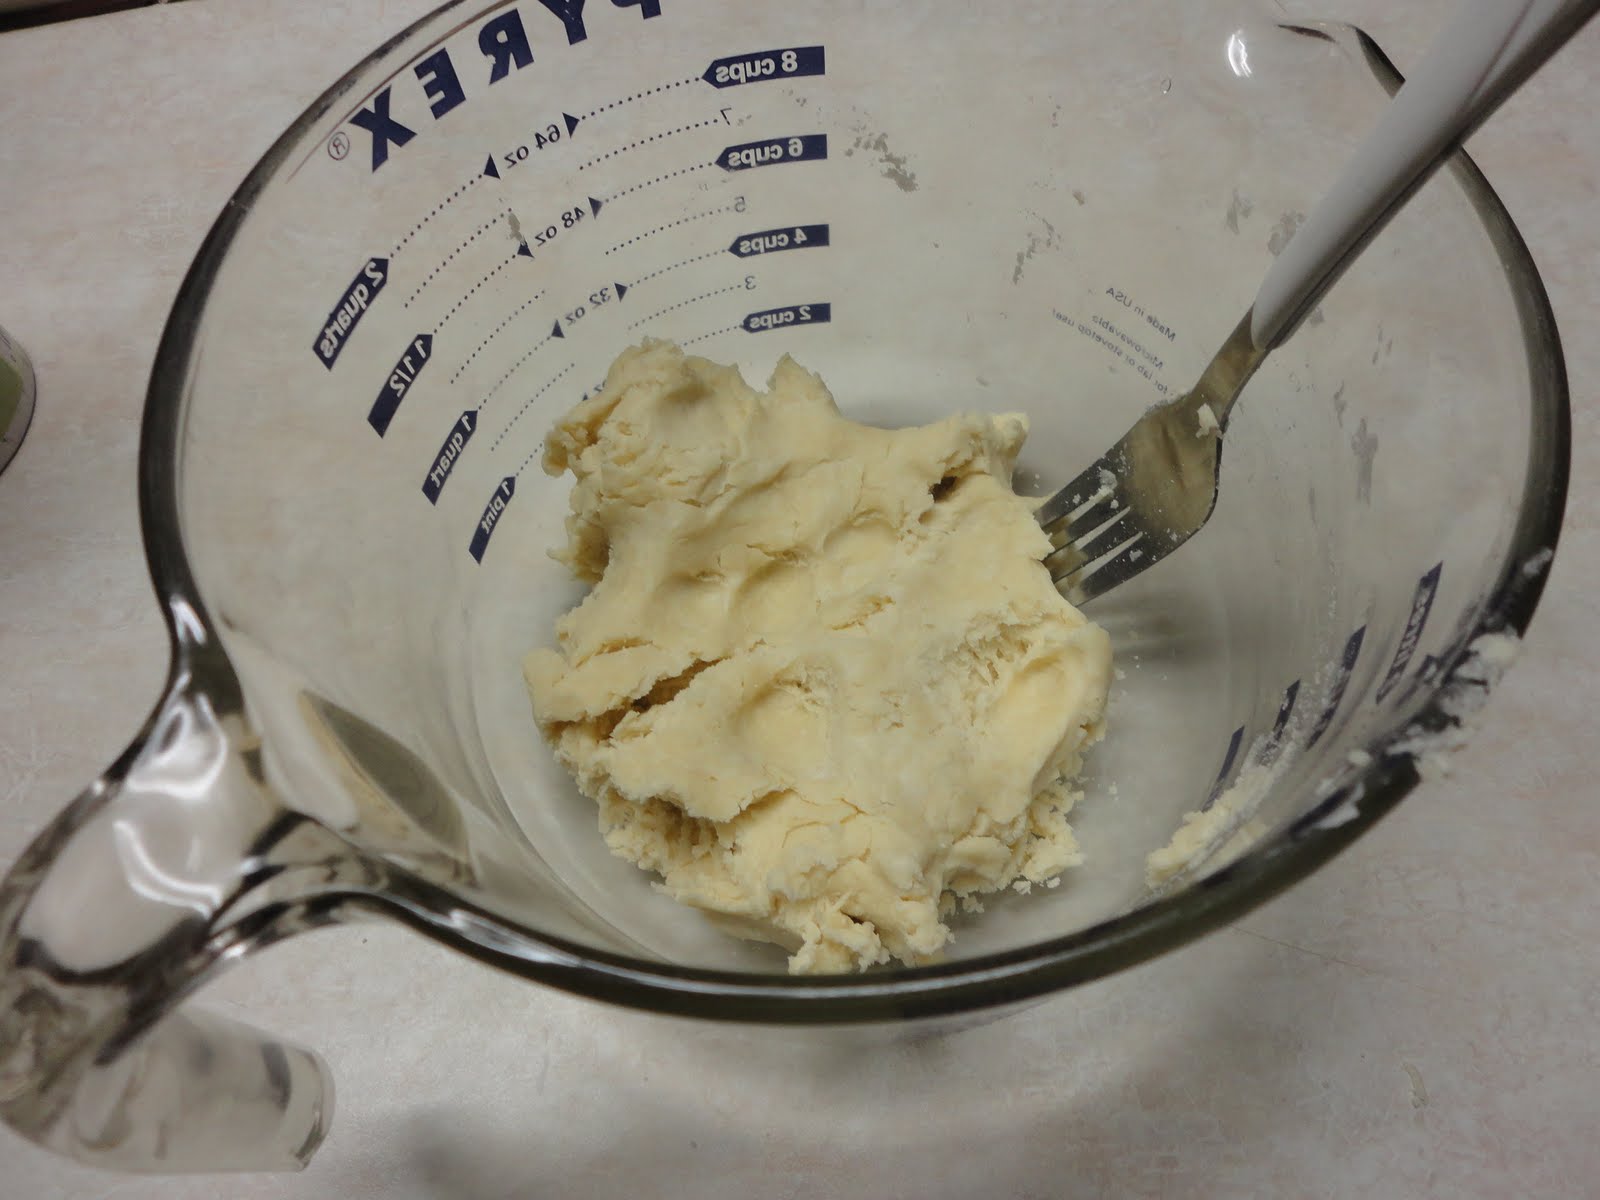
1. In a bowl, combine flour and salt; cut in the shortening until crumbly.


2. Gradually add water, tossing with a fork until dough forms a ball.


3. Roll out pastry to fit a 9-in or 10-in pie plate. Transfer pastry to pie plate. Trim pastry to 1/2 in beyond edge of pie plate; flute edges.


4. Fill or bake shell according to directions.

*To make a banana cream pie, such as is pictured below, line the shell with foil. Bake at 450 degrees for 8 minutes. Remove foil; bake 5-6 minutes longer or until light golden brown.
Cool on a wire rack.

Meanwhile, mix 1 large box of instant vanilla pudding according to box instructions for pie filling. Line cooled pie crust with banana slices, then pour pudding mixture into pie shell and put additional banana slices on top for garnish.
Chill for 1 hour and then cover pie with whipped topping. Enjoy!