Thursday, March 17, 2011

Easy as pie (pun intended ;-)

Several of you have requested that I share my pie-making technique. I finally took pictures of the process, so I can do that now. :-)

I grew up watching my mom make pies, and after I married my husband, I watched my mother-in-law make them too. But I really had no pie-making skills.

There were several reasons for that....

1) I am lazy. Plain and simple.
2) I was scared of messing up.
3) I am lazy. (Oh wait, did I already mention that?)

That about covers it though....I was lazy and scared. Once I buckled down and tried it a few times, I realized how simple it really was.
(And how rewarding! Nothin' better than a homemade pie....)
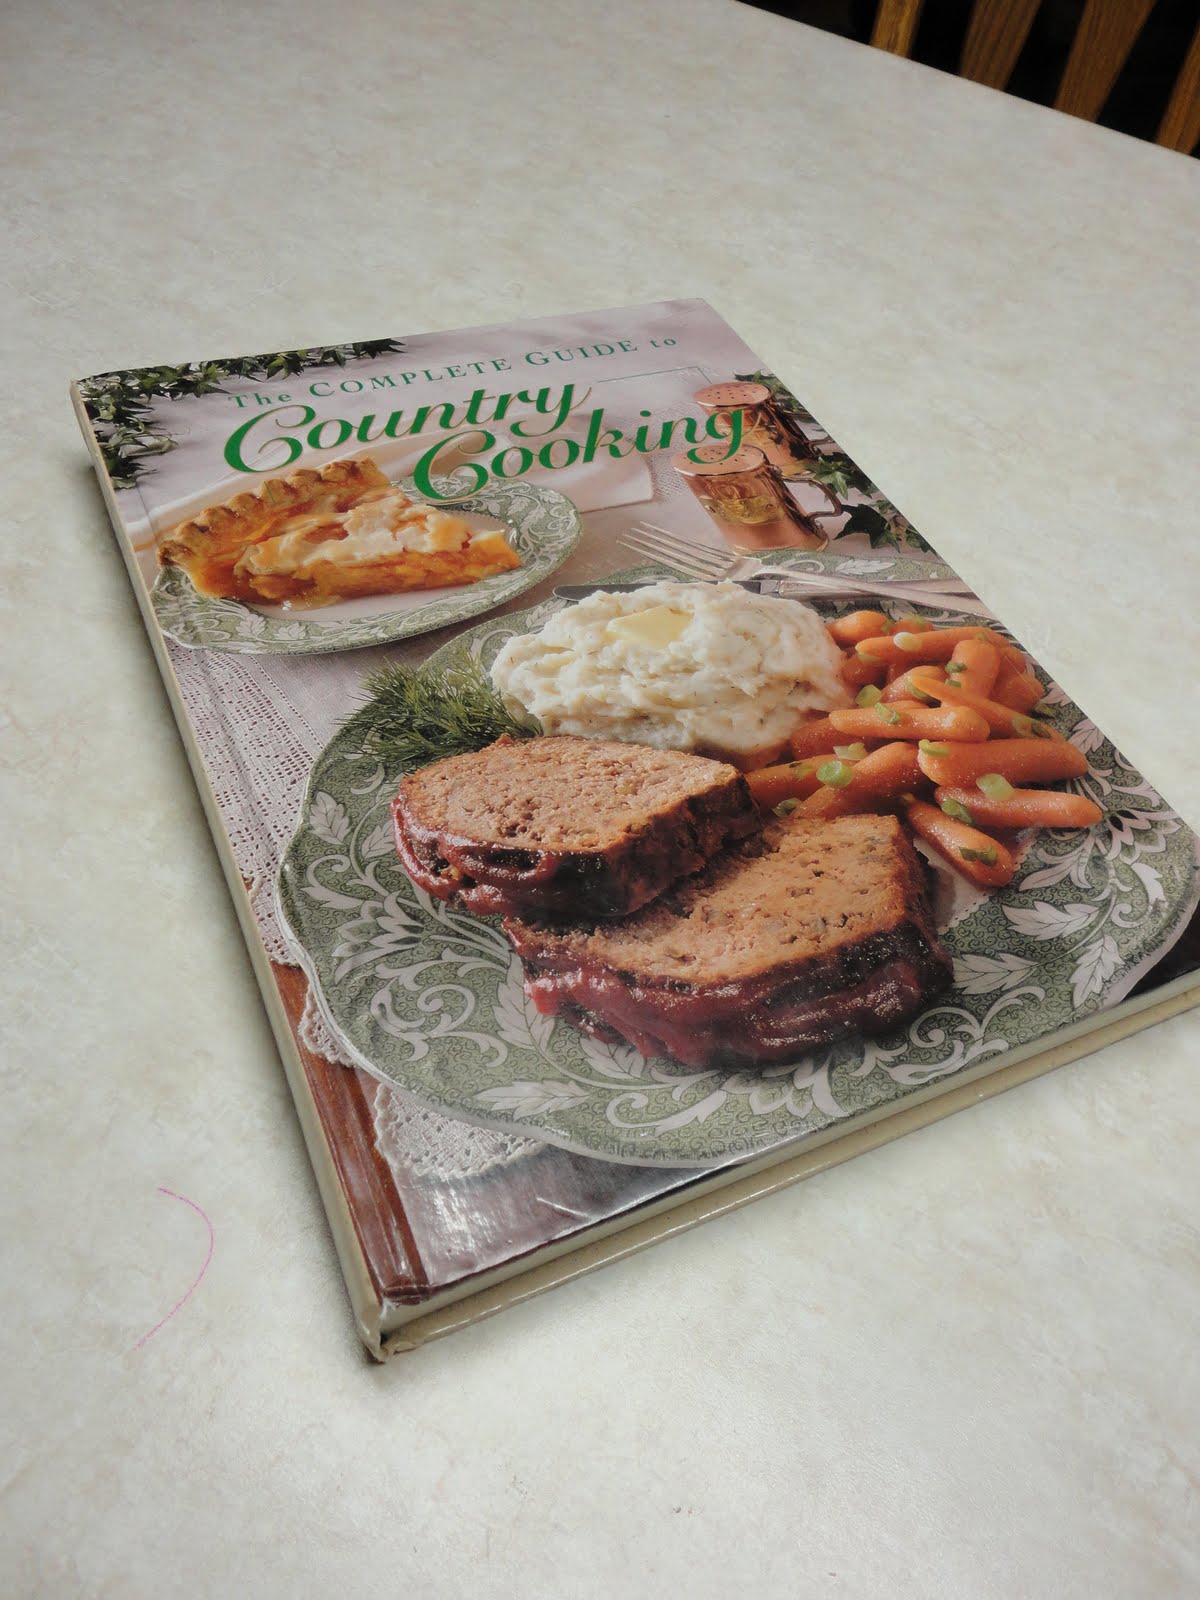
The recipe I use comes from one of my favorite recipe sources--Taste of Home. While the Taste of Home recipes are not fancy, they are easy and satisfying. They are my "go-to" recipes for basic foods. And pie crust is one of those.....

I DID have to practice several (even many) times to get the crust perfect. Now that I have the proper techniques memorized and understand the correct texture of the dough, I never have an issue. Make sure you don't give up after the first--or even second--time you try it!

Here is the recipe....

Pastry for Double-Crust

2 cups all-purpose flour
3/4 t. salt
2/3 cup shortening
6 to 7 T. cold water

1. In a bowl, combine flour and salt; cut in the shortening until crumbly.


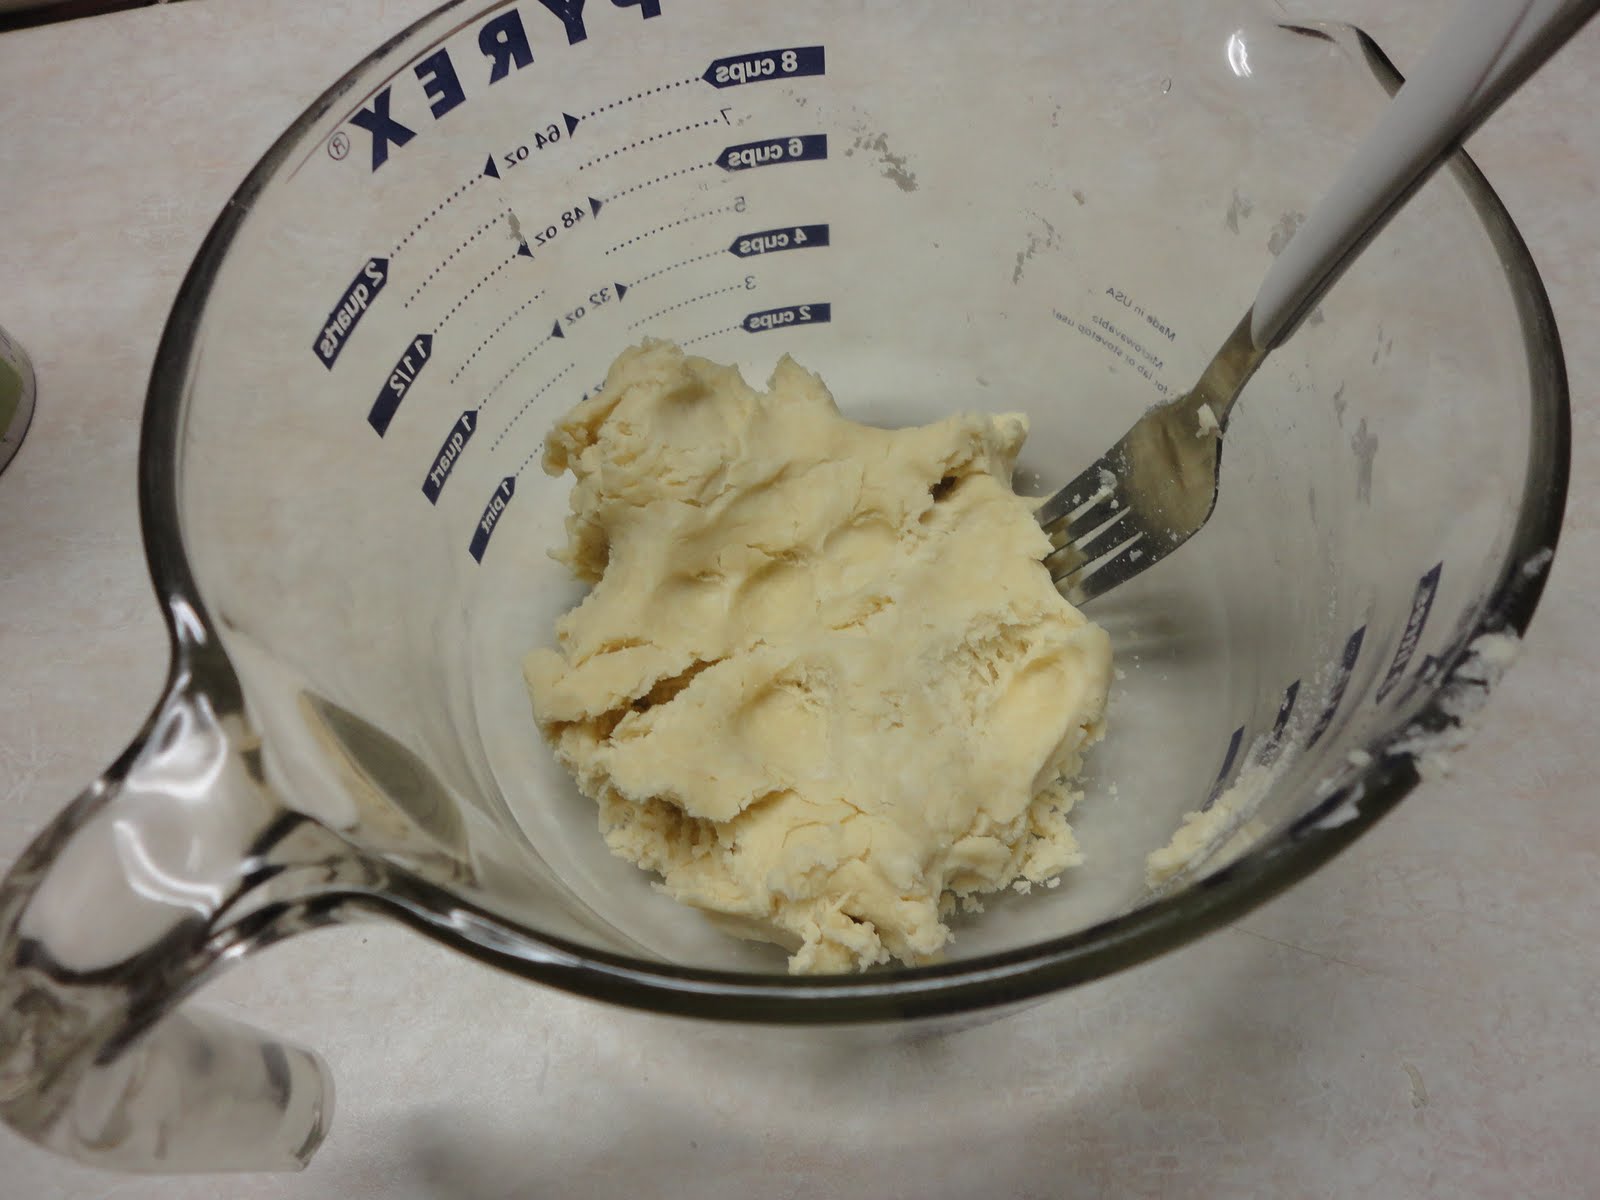
2. Gradually add water, tossing with a fork until dough forms a ball.


3. Roll out pastry to fit a 9-in or 10-in pie plate. Transfer pastry to pie plate. Trim pastry to 1/2 in beyond edge of pie plate; flute edges.


4. Fill or bake shell according to directions.

*To make a banana cream pie, such as is pictured below, line the shell with foil. Bake at 450 degrees for 8 minutes. Remove foil; bake 5-6 minutes longer or until light golden brown.
Cool on a wire rack.

Meanwhile, mix 1 large box of instant vanilla pudding according to box instructions for pie filling. Line cooled pie crust with banana slices, then pour pudding mixture into pie shell and put additional banana slices on top for garnish.
Chill for 1 hour and then cover pie with whipped topping. Enjoy!

Do you feel....LUCKY?

I have neglected my poor little food blog for the past month......
but that does not mean that I have not been cooking!
I have lots of recipes to share with you (complete with pictures, of course!) and I will posting them rapidly. :-)

But today, we are all about Irish food.....

Last year, I decided to go all traditional on my family and I made a corned beef roast and cooked cabbage, with soda bread on the side. They were NOT FANS.

So this year I am going back to the old standby--Reuben sandwiches. Except we use turkey in our family because: 1) it is healthier and 2) it tastes better (IMO). And I am trying my hand at making my own sauerkraut, due to inspiration from an episode of Diners, Drive-ins and Dives. I will let you know how that turns out.....stand by!

Maybe next year I will just stick with a "GREEN" menu.......
my green enchiladas
cabbage and broccoli
and grasshopper pie for dessert. ;-)
What do you think?

Thursday, February 3, 2011

Polka dots and plaids and cool shapes--oh my!

Oh my goodness! I just found the perfect silverware to make dinnertime even funner....er, more fun. I will have to direct my birthday money toward this set this year!

Tuesday, February 1, 2011

Yeast is our friend

Now that I have discovered that yeast is my friend and I need not be frightened of it, the whole world has opened up to me! I am exploring new horizons, that I have never ventured toward before, such as...

...BREADSTICKS.

That's right. I had never made them, for fear of THE YEAST. Oh the joys that I have missed over the years, all because of that fear.....

We were having Italian vegetable soup (my creation) and I needed some hearty bread to go along with it. But alas, the weather was bad on Monday night and my husband was already late for dinner as it was, so going to the store was out of the question. I had to face my fear and make my own bread. Aaaaahhhhh!
Fortunately, I own quite a collection of Quick Cooking cookbooks (now known as Simple and Delicious) and the recipes are made for kitchen dunces just like myself. These cookbooks have rescued me from many a tight spot. I also get the magazine and weekly emails....if you don't receive either of these, YOU SHOULD. ;-)

Anyway, here is the recipe.....they were so easy to make and so delish! I even made some of the dough into little rolls, which were good also.


Soft Italian Breadsticks
*Note: This recipe was originally to be made in a bread machine. I changed it a bit to work without one.*

1 cup water (70-80 degrees)
3 T. butter or margarine, softened
1 1/2 t. salt
3 cups bread flour
2 T. sugar
1 t. Italian seasoning
1 t. garlic powder
2 1/4 t. active dry yeast

Soften yeast in warm water for 5 minutes.
Meanwhile, combine butter, salt, flour, sugar, Italian seasoning and garlic powder. Mix together. Add yeast mixture--combine thoroughly. (May need to add a few tablespoons of water or flour)

Turn dough onto a lightly floured surface; divide in half. Cut each portion into 12 pieces; roll each into a 4 in-6 in rope. Place 2 inches apart on a greased baking sheet. Cover and let rise in a warm place until doubled, about 20 minutes.

Bake at 350 for 15-18 minutes or until golden brown. Immediately brush with butter (2T., melted). Serve warm.
Yield: 2 dozen

(Quick Cooking--Annual Recipes 2001)

Honey, I think the stove is broken.....

This year, we are trying to eat out only once or twice a month. It is so expensive and so unhealthy.....but so easy after a long day!!
*must maintain willpower.....*
When we do go out to eat though (and I am given the choice), 3 out of 4 times I would choose P.F. Changs. Their food is so good, and the atmosphere is relaxing yet sophisticated. And they serve a dish that I could probably eat every day.....

Lettuce Wraps.

Any one with me on this? Those things are one of the best inventions EVER!

So naturally, when I spotted this recipe in my inbox yesterday, I immediately put it in my "to make" pile. I will be trying this recipe out as soon as possible! And of course, there will be pictures to share..... ;-)

Friday, January 21, 2011

A bar by any other name will taste as sweet

As I was digging through my recipe box the other day, I ran across a recipe for "Ooey Gooey Karo Bars", which was given to me by a co-worker long ago. I was very excited to use the recipe, because I remembered how good they were when she brought them to work!

I was explaining them to my husband and he also got excited. They were just like the bars that his mom had made when he was younger, except she called them "Oh Henry" bars.
He strongly endorsed them.

As I gathered the ingredients, I glanced on the back of the rice crispies box and noticed a recipe for "Chocolate Scotcheroos" (which were essentially the same as the bars I was going to make.)

So I guess American culture has not settled on a proper name for these treats, but no matter......they are so good, they almost don't need a name! They are so delicious and so easy to make, I think they should be called "little bits of heaven" bars. ;-)

"Whatever-Ya-Wanna-Call-'Em" Bars

1 cup light corn syrup
1 cup sugar
1/2 t. salt
1 cup peanut butter
1 cup oatmeal
2 cups any flake cereal
2 cups crispy rice cereal
3/4 cup chocolate chips
1/4 cup butterscotch chips

1. Pour corn syrup, sugar and salt into a large saucepan. Stir over medium high heat until sugar is dissolved and mixture begins to boil.

2. Stir in peanut butter and keep stirring until melted. Remove from heat and stir in oatmeal, flakes and crispy rice cereal.

3. Pour into greased 8-inch square pan and set aside.


4. Melt chocolate chips in small saucepan over low heat, stirring constantly. Spread over bars.


5. Let sit for an hour or two until chocolate hardens on top. Serve!
(This was all that was left after a day in our house.....)

Let me know what name you come up with after eating them!

Show me the.....food

As much as I love reading food blogs, sometimes they all start to blur together. Their recipes are great, but you kinda get the same vibe from every one.

So I am always on the search for "original" ones....ones that have a different take or a different story. And they have to take great foodie pictures...that is a requirement!

This is one of those. Their story is cute and their pictures are yummy! Check it out....